
Saving a file as PDF (even one with annotations created by Preview) will allow you to embed the annotations directly into the PDF.
Run Preview and open a PDF that has annotations created by Preview.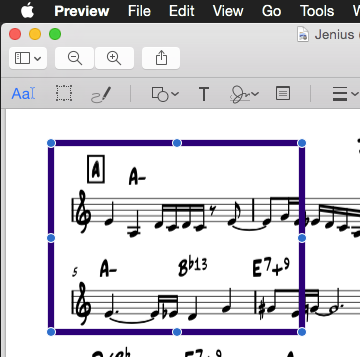
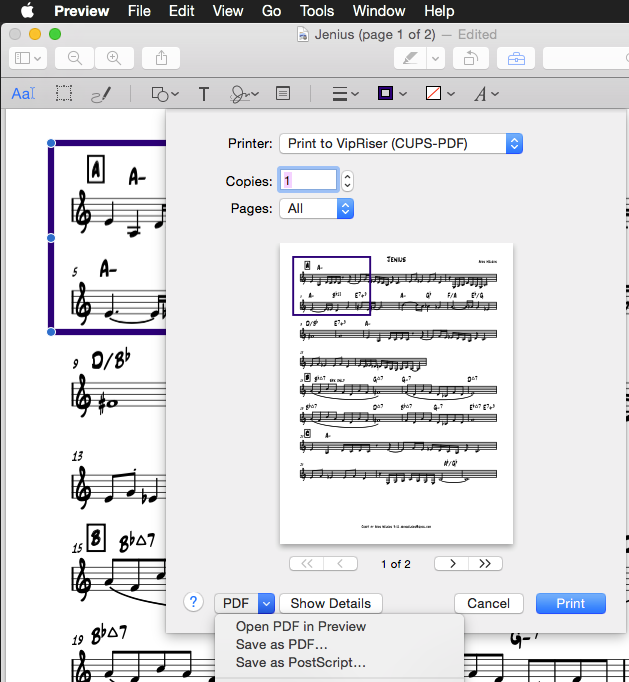
Now go to the File Menu and choose Print… and click on the PDF button on the bottom left and choose Save as PDF… Choose a destination and name your file. The annotations will be embedded in the PDF and readable by all programs.
If you have a large number of files and wish to automate the embedding of annotations in a PDF, try this:
These two programs will allow you to batch embed drawings directly into a PDF and rename the files quickly. Both can be run on large numbers of files.
Use VIPRiser to “print” a new PDF. Note you can batch print a number of PDFs all at once from the Finder. They can be saved in a folder (see vipriser preferences).
https://onflapp.github.io/blog/pages/Install-Virtual-Printer.html
VipRiser changes the names (adds characters before and after the .pdf). Use NameChanger to remove the leading characters and the extra .pdf on the end. Again, you can do this to a large number of files at once.
So basically print to VipRiser which will create new PDF files.
Then rename the PDF files back to their original names.